This tutorial is mainly for the installation of Raspbian Lite and Node-Red on a Raspberry Pi Compute Module which is used in several Temco products. The installation is similar to what would be necessary for a standard Raspberry Pi. In order to flash the Compute Module with an image it’s necessary to use a Compute Module IO board (as shown below).
-
Download and run the Windows installer to install the drivers and boot tool.
-
Insert your Compute Module into the SODIMM connector of the Compute Module IO Board (CMIO).
-
Plug your host PC USB into the CMIO USB SLAVE port, making sure J4 is set to the ‘USB Slave’ position.

The image shows a Compute Module IO Board v3.0 – the IO boards seem to be cross compatible with newer/older versions of the Compute Module’s (I am using a v1.2 board with both 1.1 and 3+ Modules).
-
Apply power to the CMIO board, Windows should now find the hardware and install the driver.
-
Once the driver installation is complete, run the RPiBoot.exe tool that was previously installed.
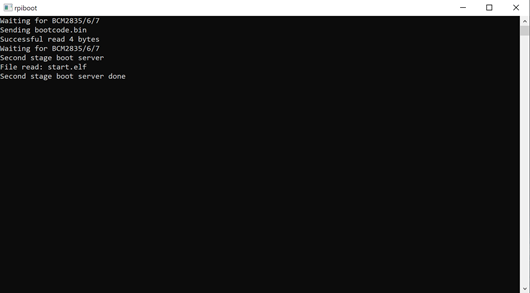
- After a few seconds, the Compute Module eMMC will pop up under Windows as a disk (USB mass storage device).
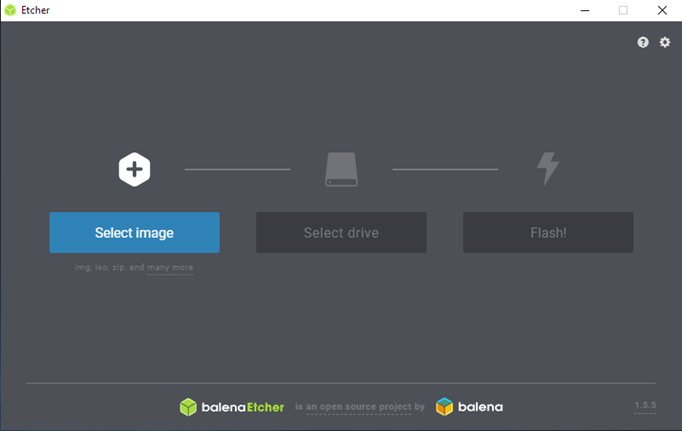
Flash the device using Balena Etcher – download the install or portable version. Also download the latest Raspbian Lite image from here.
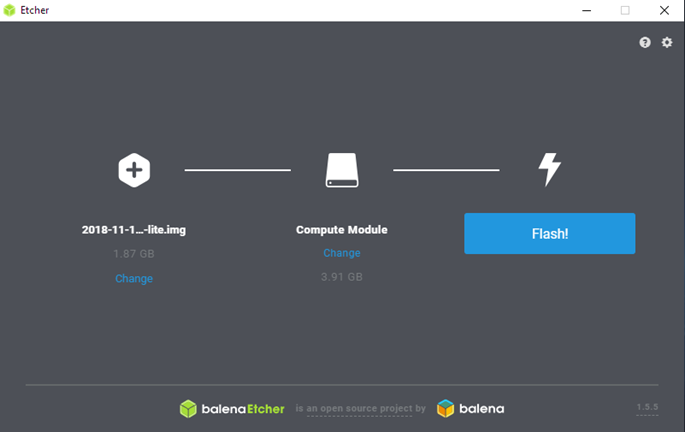
Run the Balena Etcher program. Select the installation image by clicking on the ‘Select image’ button;
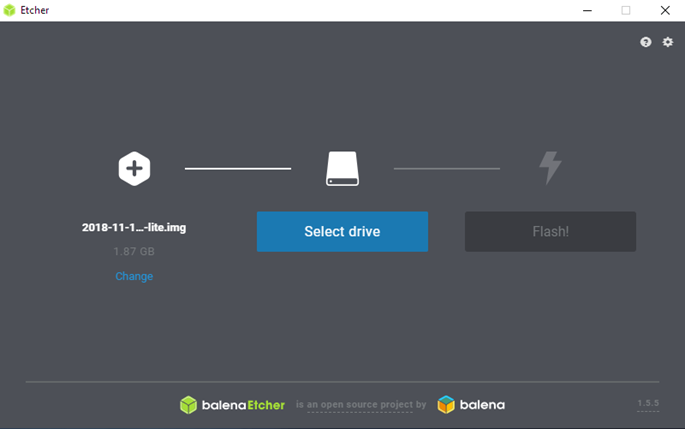
Select the drive to write to by clicking on the ‘Select Drive’ button;
Select the Compute Module in the list of drives;
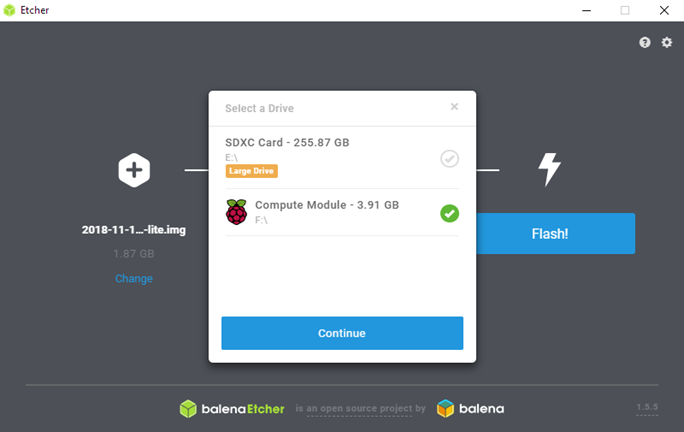
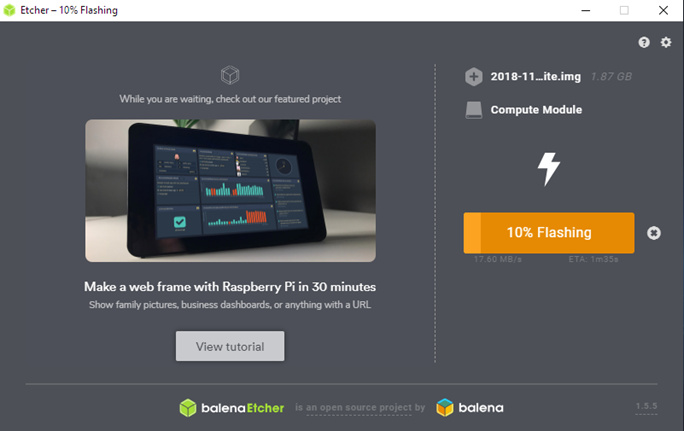
Start the flash process by clicking on the ‘Flash’ button;
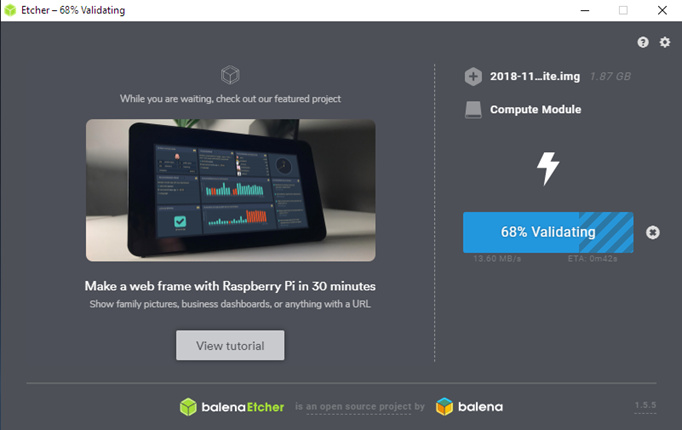
After validation completes you may see a dialog box asking to format the disk - just cancel this dialog.
Next step would be to run an update/upgrade to make sure the OS is fully up to date. This could be done using either the Compute Module IO board or a Temco Product with Compute Module slot. Either way the easiest way is to use SSH from the PC - in order to enable SSH without having to connect the Compute Module to a display, unplug the IO board and plug it back in, then run the Rpiboot program again, which will cause the Module to show up as two separate disks. The ‘Disk needs to be formatted’ dialog will show up again, cancel it - it’s the secondary partition on the module which is in a linux file system that most Windows PC’s don’t recognize unless support for Linux file systems has been installed. The first partition is called boot - it is readable by Windows - create an empty file called ‘ssh’ with no extension on the boot partition. This will automatically enable SSH on the Compute Module so it’s possible to do update/upgrade and node-red installation via the PC.
